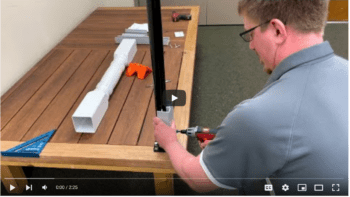
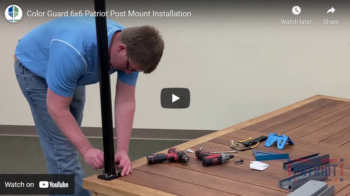
Patriot Post Mount Installation
Able to mount to wood, concrete or composite surfaces at up to an 11° angle, the Patriot Post Mount by Color Guard Railing Systems is the ultimate leveling post mount solution. In this video, we will show you how to install the post mount for 36 and 44 inch sleeves.
Color Guard 4×4 Patriot Post Mount Installation
Today we are going to show you how to install the 4 x 4 Patriot Post Mount by Color Guard.
This kit comes fully boxed and includes steel post, high density 4 x 4 fillers, adjustment leveling plate and screws. Sleeves are sold separately.
The Patriot works with any vinyl, PVC, composite or aluminum sleeve that will fit a normal 4″ x 4″ wood post. It’s rated for 500 lbs of pressure, and unlike a typical wood post, the Patriot won’t warp, twist or split.
Before you install the Patriot Post Mount you will need to gather your safety glasses, fasteners appropriate for your type of decking material, a socket wrench, level, speed square and a drill.
PRO TIP: Mounting on a wood deck? For extra stability get the optional SPB Kit for under-deck mounting.
To install, first add the adjustment screws to the post base.
Determine were you are going to mount the post, and mark four mounting holes for pre-drilling, then drill.
Secure the post with the fastening screws, but don’t tighten all the way yet because the post still needs to be leveled.
Adjust the leveling screws. The Patriot Post Mount can be leveled up to 11 degrees in any direction.
Once leveled, secure the four fasteners.
Using the pre-drilled holes, attach the fillers. For a 36-inch post sleeve, attach the fillers in the downward direction.
To install a 44-inch Sleeve, simply attach the fillers in the upward direction.
Slide on the sleeve and you’re done!
Thank you for watching. For more information on Color Guard Railing Systems, including product information, options and accessories, installation instructions, and inspirational ideas, please visit us at https://www.colorguardrailing.com/products/the-patriot/